Leafy herbs and vegetables like coriander and spinach contains iron and are good for health. Due to iron many times they turn black when cooked. Want your saag or palak paneer to look bright green and creamy instead of turning black ? Follow these 3 tips

- Always roast your saag or palak gravy in a pan and tomato onion gravy in other. Then when they are cooked perfectly, add it to same pan. Tomato and green leaves when cooked together, a chemical reaction happens between the two and our palak paneer or saag often changes to dark green or black color. It is due to iron in leafy vegetables.
- After mixing both puree, mix well and add 1 tsp cream and 1 tsp butter. It will bring richness and creaminess to our gravy.
- Add some crushed dried methi to the saag or palak paneer for a delicious fragrance and taste.
Check the recipe of Palak Paneer Here
Table of Contents
Growing coriander at home garden step by step
- Take new coriander seeds
- Press them lightly with your finger tips and break into two. By this we get two saplings.

- Soak these seeds in water for 5-6 hours.
- Take 50% compost and 50% soil mix in a big pot.
- place the seeds on the top and cover it with a layer of soil.


- Seeds will sprout as soon as next day or in 3-4 days depending upon the climate of your place.
- After 5-7 days seeds may start developing but will appear leggy.

- At this stage, add some soft layer of soil from the side by sprinkling it. Take care to not damage any saplings.
- This will give our sprouts a firm base and in 2-3 days they will get hold of the support and grow strong.
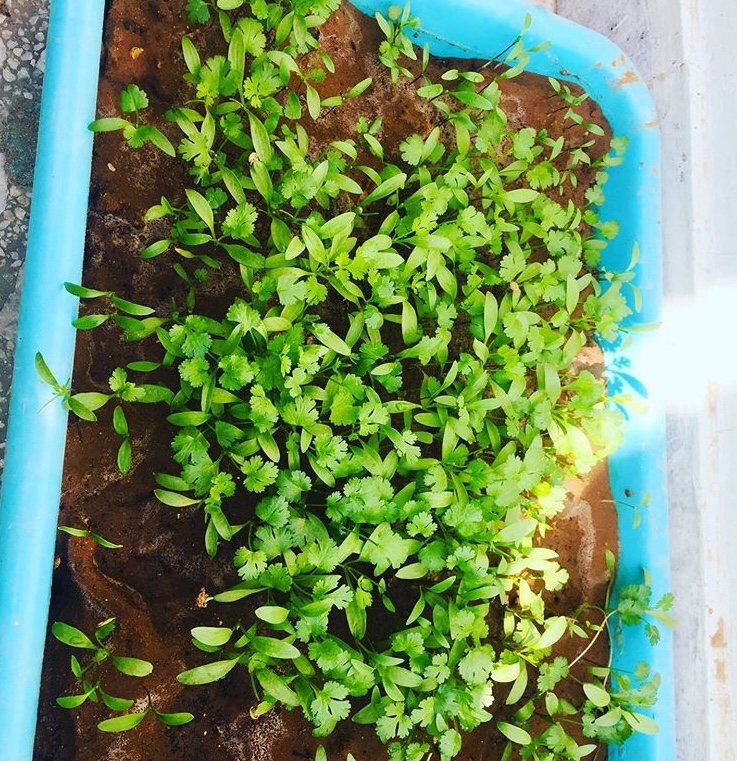
- The whole procedure requires 2-3 hours of sunlight. So make sure to place the pot likewise.
Coriander will grow best during winters Chop it as and when required.
Easy coriander chutney recipe
Take fresh dhaniya leaves along with stem. Add 1 green chili, few rosted peanuts, crushed coconut, jeera, salt and curd. Grind it. Chutney is ready. Enjoy it with meals or snacks.


Hi Dixu,
I followed your method, and I can see dhaniya leaves. Tiny, coming up. Such a joy it is.
Happy to know this 🙂 enjoy home grown dhaniya